

一、安装软件包管理器
前往https://brew.sh/index_zh-cn,复制命令到终端。
/bin/bash -c "$(curl -fsSL https://raw.githubusercontent.com/Homebrew/install/master/install.sh)"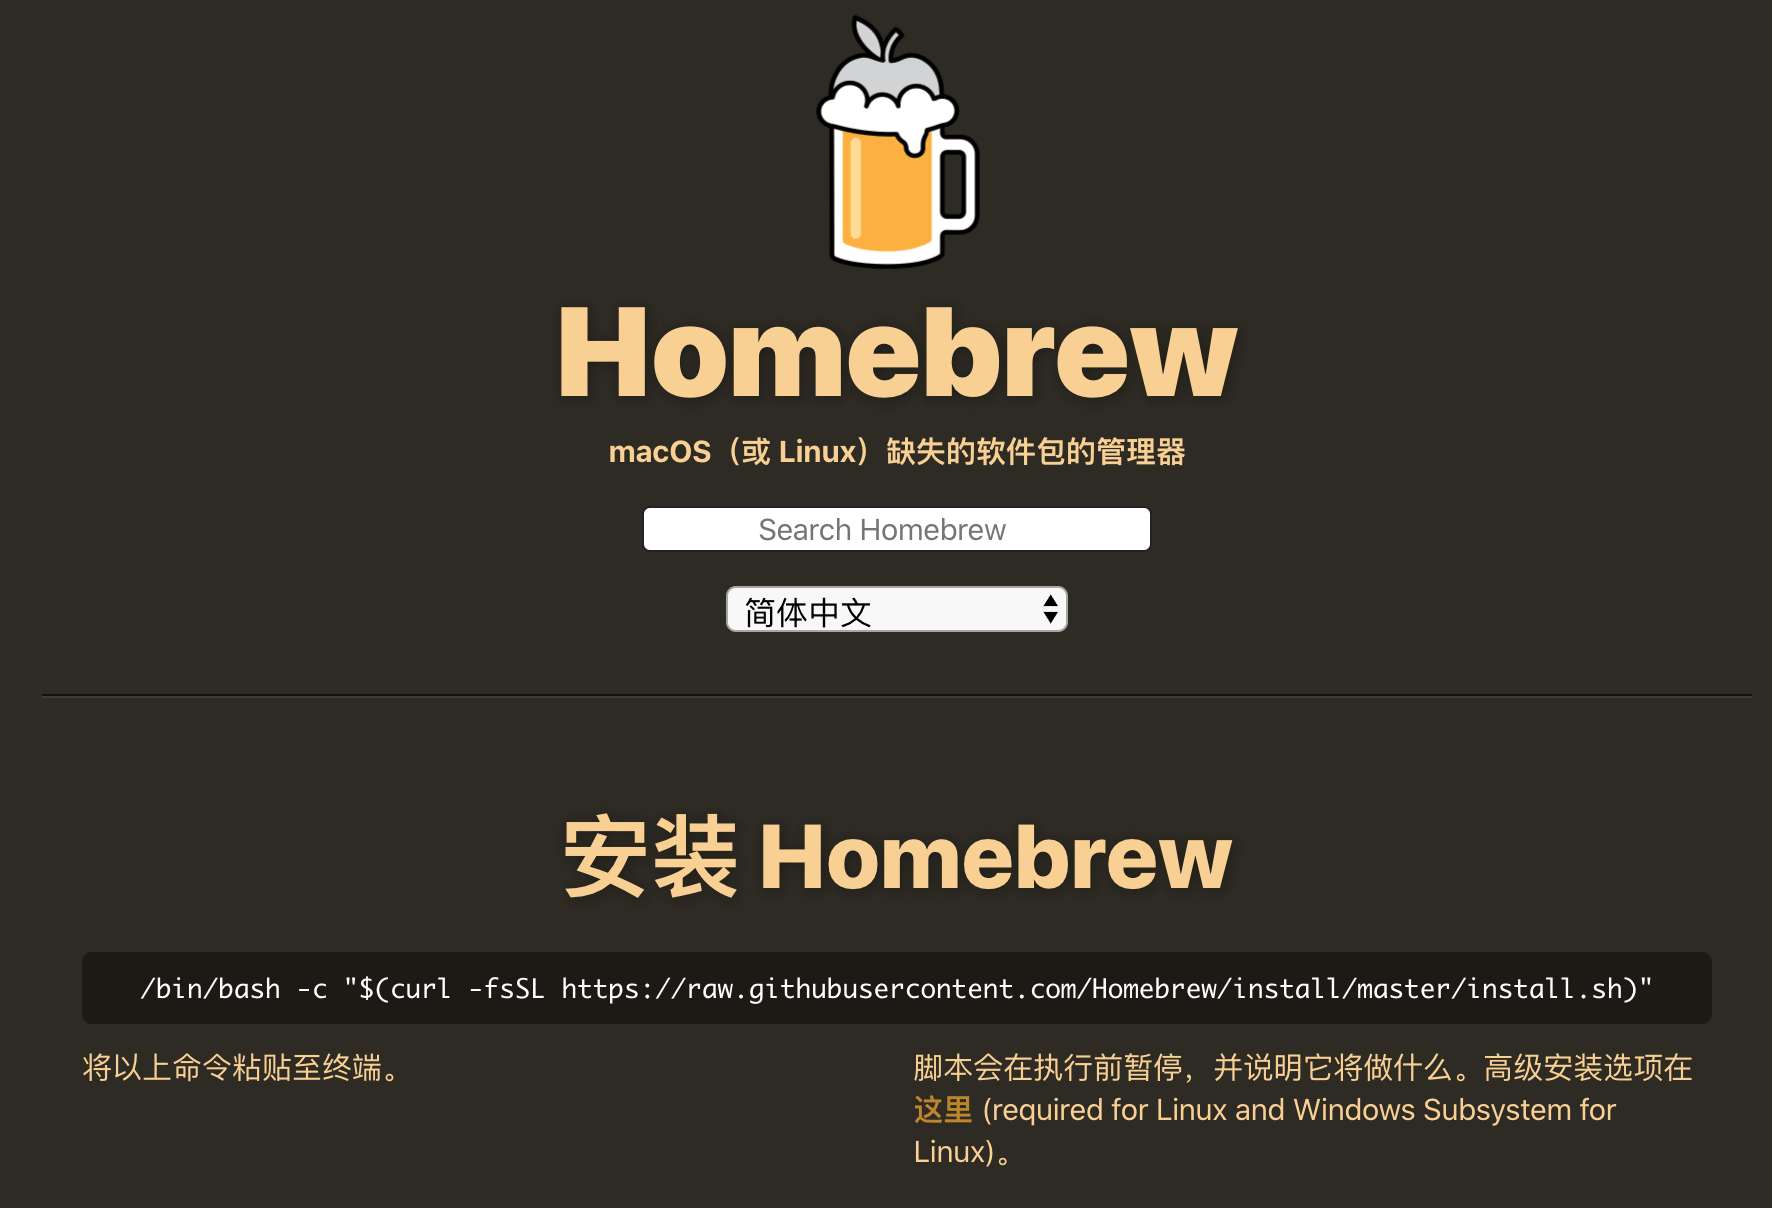
但是安装失败,提示:
Failed to connect to raw.githubusercontent.com port 443: Connection refused443 端口连接被拒一般是因为墙的原因,试验了网上好几种方法,科学上网,改host等等。
最后还是下载了别人的brew_install.rb文件,上面执行的命令,需要链接到https://raw.githubusercontent.com,其实就是执行了这个brew_install.rb文件。
我把下载好的文件存放在了桌面,使用ls查看目录,进入桌面cd Desktop,执行:
ruby brew_install.rb然后根据提示安装。
安装过程中提示:
error: RPC failed; curl 18 transfer closed with outstanding read data remaining究其原因是因为curl的postBuffer的默认值太小,我们需要调整它的大小,在终端重新配置大小
在这里,笔者把postBuffer的值配置成500M,对笔者来说已经够了。可以根据你需要下载的文件大小,将postBuffer值配置成合适的大小。
git config --global http.postBuffer 524288000
这样已经配置好了,如果你不确定,可以根据以下命令查看postBuffer。
git config --list
接着重新安装。
安装到:
==> Tapping homebrew/core
Cloning into '/usr/local/Homebrew/Library/Taps/homebrew/homebrew-core'...
会再次出问题。进程到这一步会听很久,然后开始很慢速的下载。

但是这个下载,会下着下着就断掉。
因为不懂这个,出了问题就百度,网上方法一大堆,一个方法一个方法试过来,一个坑一个坑的踩。知乎上有个回答:细数安装homebrew踩过的坑,值得参考:https://zhuanlan.zhihu.com/p/93092044,后面的解决方法用的是这篇文章的方法。
出现问题前直接关掉命令窗口Terminal,然后进入下面的 Taps 目录,clone homebrew-core
cd /usr/local/Homebrew/Library/Taps/homebrew

git clone https://mirrors.tuna.tsinghua.edu.cn/git/homebrew/homebrew-core.git
替换homebrew默认源
cd "$(brew --repo)"
git remote set-url origin git://mirrors.ustc.edu.cn/brew.git
替换homebrew-core源
cd "$(brew --repo)/Library/Taps/homebrew/homebrew-core"
git remote set-url origin git://mirrors.ustc.edu.cn/homebrew-core.git
brew更新
brew update设置 bintray镜像
echo 'export HOMEBREW_BOTTLE_DOMAIN=https://mirrors.ustc.edu.cn/homebrew-bottles' >> ~/.bash_profile
source ~/.bash_profile
当出现Already up-to-date,恭喜,homebrew折腾好了。如果不确定,还想检查一下,可以跑一下:
brew doctor如果出現
Your system is ready to brew.说明已经安装好了。
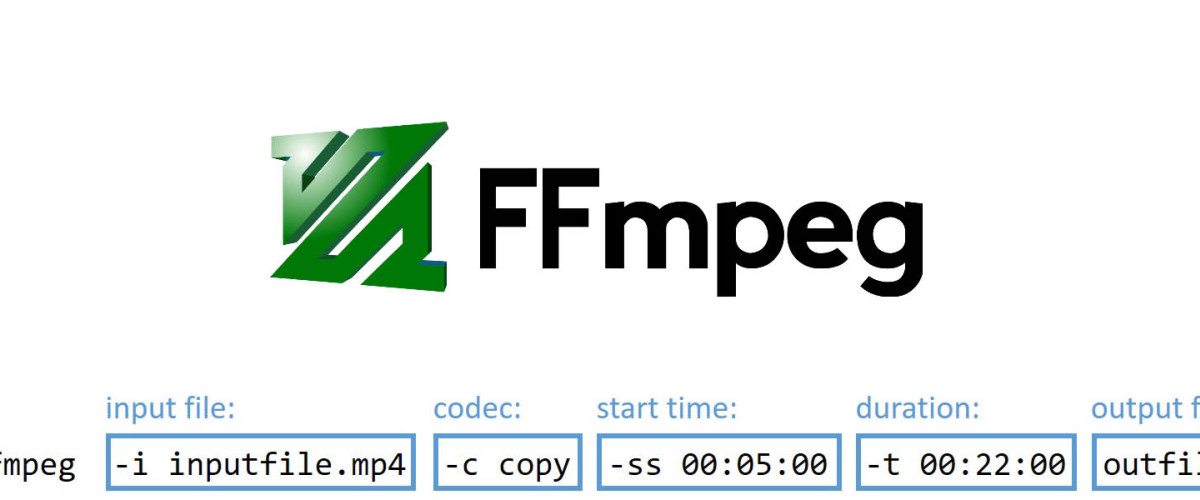
二、安装FFmpeg
brew install ffmpeg网不好,又可能报错,Failed to download…………然后我直接手机开热点用流量来安装了。
有很多依赖文件需要安装:

安装依赖需要下载很多,文件不大但是下载很慢,断网了重新brew install ffmpeg就可以。
安装完依赖后,ffmpeg会自动开始安装。
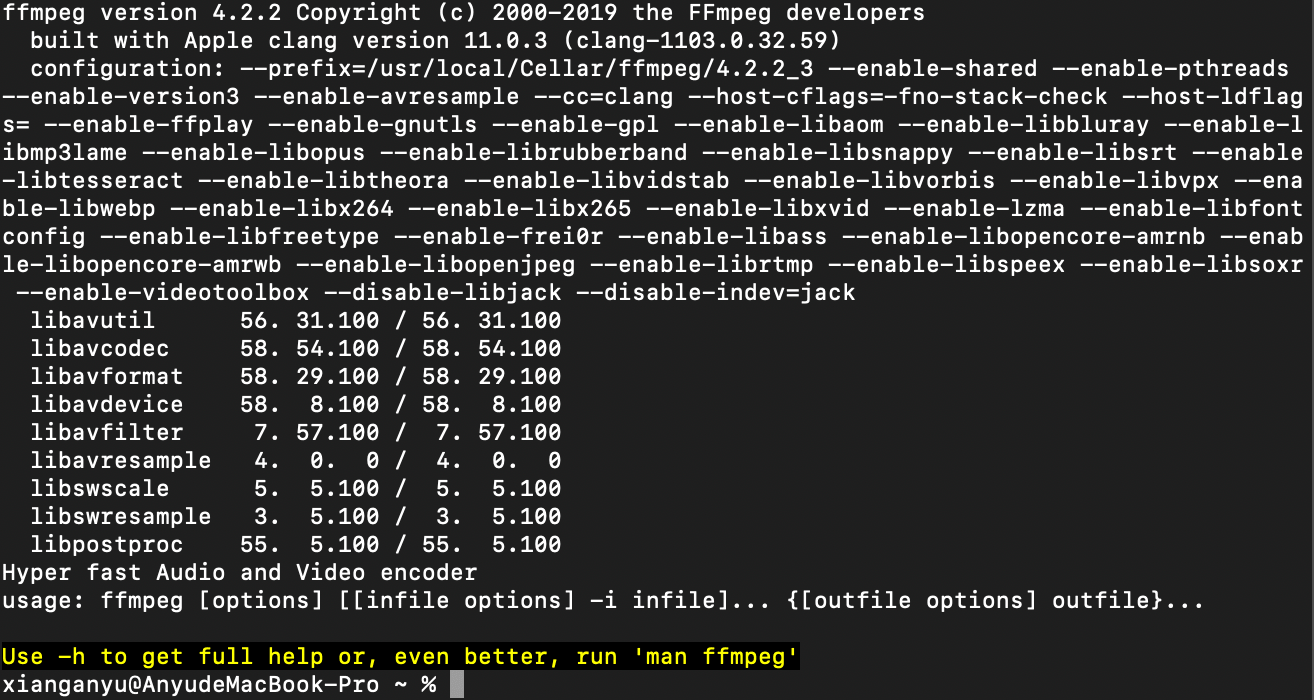
安装成功后,在终端输入ffmpeg,会显示:
三、安装autosub
执行:
pip install autosub提示错误:
zsh: command not found: pip执行:
sudo easy_install pipautosub需要python2.7,可以输入下方代码查询python版本:
python -V或者:
python --version然后重新pip install autosub
安装后检查一下:
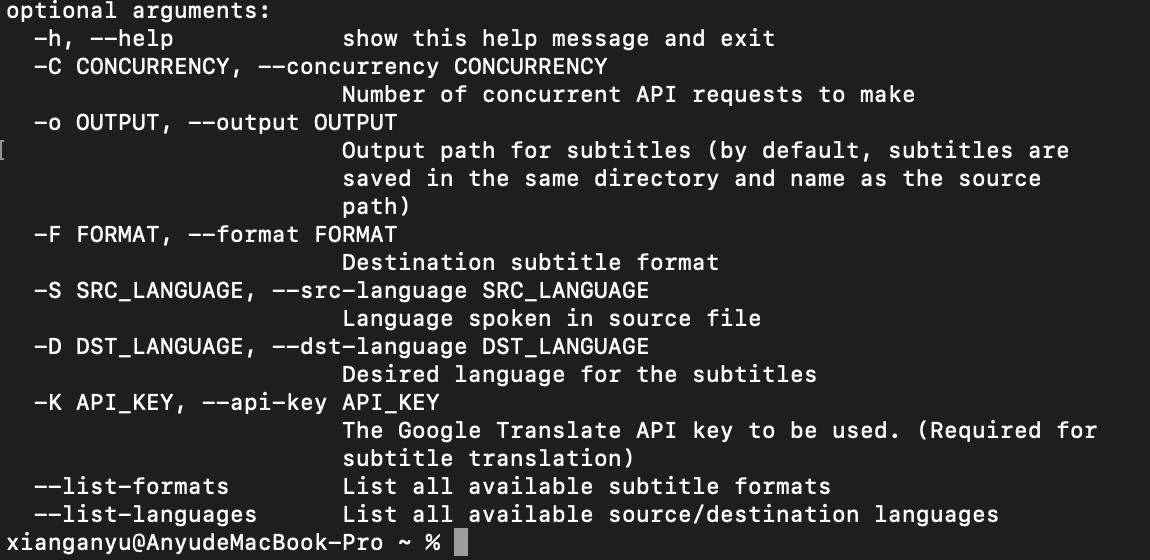
autosub -h发现没装好,于是卸载:
sudo pip uninstall autosub需要选择时候输入y,回车。
重新安装:
sudo pip install autosubautosub -h检查一下,出现:
autosub安装成功。
命令行测试版本中使用的功能参数说明:
(1)命令格式:autosub [options] <input video>
     例:autosub –r ja –t zh-cn test.mp4
(2)参数Option:
      -r <language code> :
       enable speech recognition and set source language to <language code>
      支持语音识别功能, 并且设置原语言的各类为<language code> 所指示的种类。
      -t<language code>:
  enable translation and set target language to <language code>
  在已经识别了语音的基础上,可以进行简单的机器翻译成目标语言<language code>
  -o <output>.srt:
  Specify output subtitle file name(default: the same as the input name)
  更改输出的字幕文件名为<output>.srt, 在默认情况下为原输入的视频文件名

     目标语言代号Language codes:
        Chinese: zh-cn
        English: en
        Japanese:ja
autosub -S zh-CN -D zh-CN <文件路径>然后,需要单声道mp3文件,需要调用google的API……你懂的。
然后,测试了一段视频,确实对中文对支持相当差,反正google现在也做不了多少中文的业务不是吗?
要解决也是可以的,冰灵版本的autosub,可以调用讯飞的API,据说不错。不过我就懒得折腾了。
直接用tern-subtitle file translator就很香啊。自己申请腾讯、阿里、IBM、亚马逊、微软的API,就可以白嫖了。


评论 (0)